
Mastering the Art of Deep Cleaning Your Kitchen Cabinets
- Deep cleaning prevents mold, pests, and removes grease, grime, and food residues to maintain kitchen hygiene.
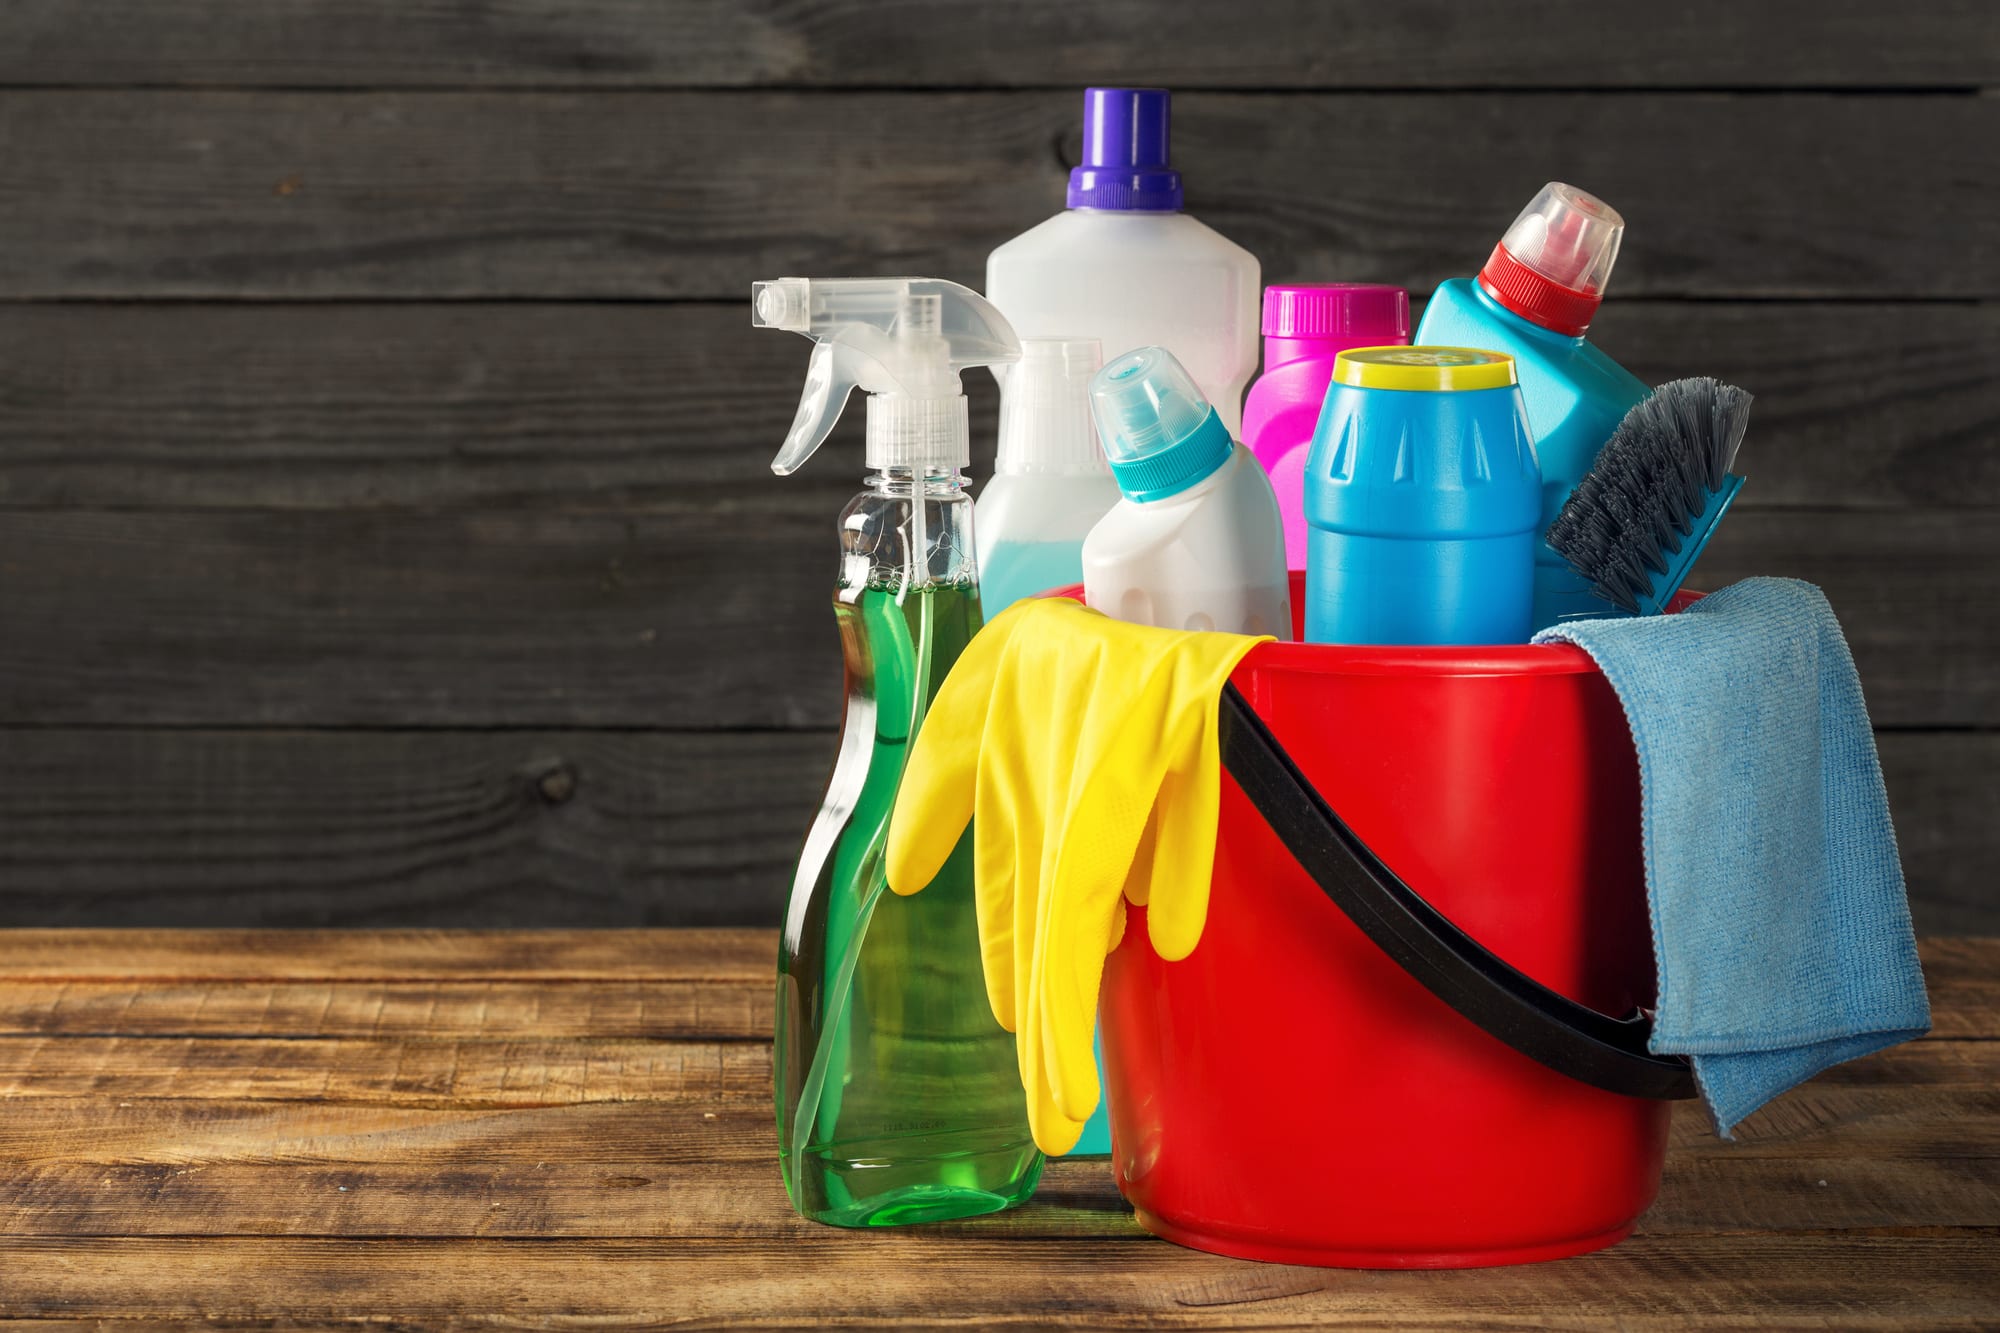
- Gather supplies: mild detergent or vinegar, baking soda, microfiber cloths, sponge, brush, vacuum, and warm water.
- Follow steps: empty cabinets, dust/vacuum, wipe interior/exterior, scrub crevices, rinse, and thoroughly dry.
- Care for materials: use gentle cleaners on wood, avoid abrasives on laminate, and spot-clean painted surfaces.
- Maintain regularly: weekly wipe-downs, monthly declutter, use shelf liners, label containers, and address stains/odors with baking soda or vinegar.
Deep cleaning your kitchen cabinets can seem like a daunting task, but with the right approach, it can be both manageable and rewarding. Your kitchen is the heart of your home, and clean cabinets are key to maintaining a healthy, welcoming environment. Here’s a step-by-step guide to help you deep clean your kitchen cabinets, making them sparkle like new.
Why Deep Cleaning Your Cabinets is Important
Kitchen cabinets often become a catch-all for everything from spices and cereals to cleaning supplies and Tupperware. Over time, grease, grime, and food particles can accumulate, creating an unhygienic environment. Regular deep cleaning helps:
- Maintain Hygiene: Eliminating bacteria and food residues prevents mold and pest infestations.
- Enhance Appearance: Clean cabinets improve the overall look of your kitchen, making it more inviting.
- Prolong Cabinet Life: Regular maintenance keeps cabinets in good condition, preventing damage from dirt and grime buildup.
Preparing for the Task
Before diving into the cleaning process, it’s essential to gather the necessary supplies and prepare your space:
Supplies Needed
- Mild Detergent or Vinegar Solution: Gentle on surfaces but effective at cutting through grease.
- Baking Soda: Great for scrubbing and removing tough stains.
- Microfiber Cloths: Soft and non-abrasive, ideal for cleaning without scratching.
- Sponge and Scrub Brush: For more stubborn spots.
- Vacuum Cleaner: Handy for removing dust and crumbs.
- Bucket of Warm Water: Essential for rinsing.
- Old Toothbrush: Perfect for getting into small crevices.
Preparing Your Workspace
- Empty the Cabinets: Take everything out of your cabinets. This is a great opportunity to declutter and get rid of items you no longer need.
- Protect Surfaces: Lay down towels or sheets on your countertops to protect them from water or cleaning solutions.
- Ventilation: Ensure your kitchen is well-ventilated. Open windows or turn on fans to keep the air circulating.
Step-by-Step Cleaning Guide
Now that you’re prepared, it’s time to start cleaning.
Dust and Vacuum
Begin by removing any loose dust and debris.
- Dusting: Use a microfiber cloth to wipe down the exterior and interior surfaces of your cabinets.
- Vacuuming: Utilize the vacuum cleaner with a brush attachment to clean out corners and edges where crumbs and dust tend to accumulate.
Clean the Interior
Focus on the inside of your cabinets first.
- Solution Preparation: Mix a few drops of mild detergent or vinegar with warm water in a bucket.
- Wipe Down: Dampen a microfiber cloth with the solution and wipe down all interior surfaces, including shelves and walls. For tougher spots, use a sponge or scrub brush.
- Scrub Crevices: Use an old toothbrush to clean in small crevices and around hardware.
- Rinse and Dry: Wipe the surfaces with a cloth dampened with clean water to remove any soap residue, then dry with a clean, dry cloth.
Clean the Exterior
The exterior of your cabinets can be just as dirty as the inside.
- Grease Removal: If there’s grease buildup, sprinkle baking soda on a damp cloth and gently scrub the surfaces.
- Door Fronts and Handles: Pay extra attention to cabinet doors and handles, which often accumulate fingerprints and grime. Use the detergent solution and a sponge for these areas.
- Rinse and Dry: As with the interior, rinse with a clean damp cloth and dry thoroughly.
Clean the Hardware
Handles, knobs, and hinges can harbor a lot of dirt.
- Remove Hardware: If possible, remove handles and knobs to clean them separately. This also allows you to clean behind them.
- Soak and Scrub: Soak the hardware in warm soapy water for a few minutes, then scrub with a toothbrush.
- Dry and Reattach: Dry thoroughly before reattaching to prevent moisture damage to the cabinet wood.
Special Considerations for Different Cabinet Materials
Different materials require different cleaning approaches to avoid damage.
Wooden Cabinets
- Gentle Cleaning: Use a mild soap or wood cleaner. Avoid excessive water to prevent warping.
- Polish: After cleaning, consider applying a wood polish to restore shine and protect the finish.
Laminate Cabinets
- Avoid Abrasives: Laminate is more forgiving but can scratch easily. Use non-abrasive cleaners.
- Stain Removal: For stubborn stains, a paste of baking soda and water can be effective.
Painted Cabinets
- Non-Abrasive Cleaners: Avoid harsh chemicals that could strip the paint.
- Spot Cleaning: Focus on spot cleaning stains rather than soaking the surface.
Maintaining Clean Cabinets
Once your cabinets are sparkling clean, maintaining them is key to avoiding future deep cleaning marathons.
Regular Cleaning Routine
- Weekly Wipe Down: Incorporate a weekly wipe-down of cabinet exteriors into your cleaning routine.
- Monthly Declutter: Take a few minutes each month to declutter and reorganize the contents of your cabinets.
Preventative Measures
- Use Liners: Shelf liners can help protect cabinet surfaces from spills and stains.
- Close Doors Properly: Always ensure cabinet doors are closed to keep out dust and grime.
- Avoid Overloading: Don’t overload shelves, which can lead to sagging and make cleaning more challenging.
Addressing Stubborn Stains and Odors
Sometimes, regular cleaning isn’t enough to tackle stubborn stains and persistent odors.
Stubborn Stains
- Baking Soda Paste: Mix baking soda with a small amount of water to form a paste. Apply to the stain, let sit for a few minutes, then scrub and rinse.
- Vinegar Spray: For greasy stains, spray vinegar directly on the spot, let sit, then wipe clean.
Odor Elimination
- Baking Soda: Place an open box of baking soda in the cabinet to absorb odors.
- Charcoal: Activated charcoal is excellent for neutralizing smells. Place a few pieces in a small container in the cabinet.
- Vinegar: A small bowl of vinegar left in the cabinet overnight can help dissipate odors.
Organizing Tips for a Cleaner Kitchen
Keeping your cabinets organized not only makes your kitchen more functional but also keeps it cleaner for longer.
Utilize Storage Solutions
- Clear Containers: Use clear, airtight containers for dry goods. They keep food fresh and make it easy to see what you have.
- Drawer Dividers: These are great for utensils and small items, preventing them from becoming jumbled.
- Lazy Susans: Perfect for corner cabinets or for organizing spices and small bottles.
Label Everything
- Labels: Label containers and shelves to keep things organized and make it easier to put items back in the correct spot.
- Expiration Dates: Mark expiration dates on items to ensure you use them before they go bad.
Maximize Space
- Stackable Solutions: Utilize stackable containers and bins to make the most of vertical space.
- Hooks and Racks: Install hooks on the inside of cabinet doors for hanging items like measuring spoons or pot lids.
Final Touches and Reassembly
After cleaning and organizing, it’s time to put everything back in place.
Check for Repairs
- Inspect: Check for any loose hinges or handles and tighten them.
- Replace: Consider replacing worn-out hardware or shelf liners.
Reassemble and Refill
- Organize: Place items back in the cabinets, prioritizing those you use most frequently in easily accessible spots.
- Admire Your Work: Take a moment to enjoy the clean, organized space you’ve created.
Conclusion
Deep cleaning your kitchen cabinets may seem like a time-consuming task, but the results are well worth the effort. Not only will your kitchen look better, but it will also be a healthier and more pleasant place to prepare food and spend time with family and friends. By following these steps and maintaining a regular cleaning schedule, you can keep your cabinets in top condition all year round. Happy cleaning!
Share this article
Related Posts


Follow us
A quick overview of the topics covered in this article.


